Settings → Recordings
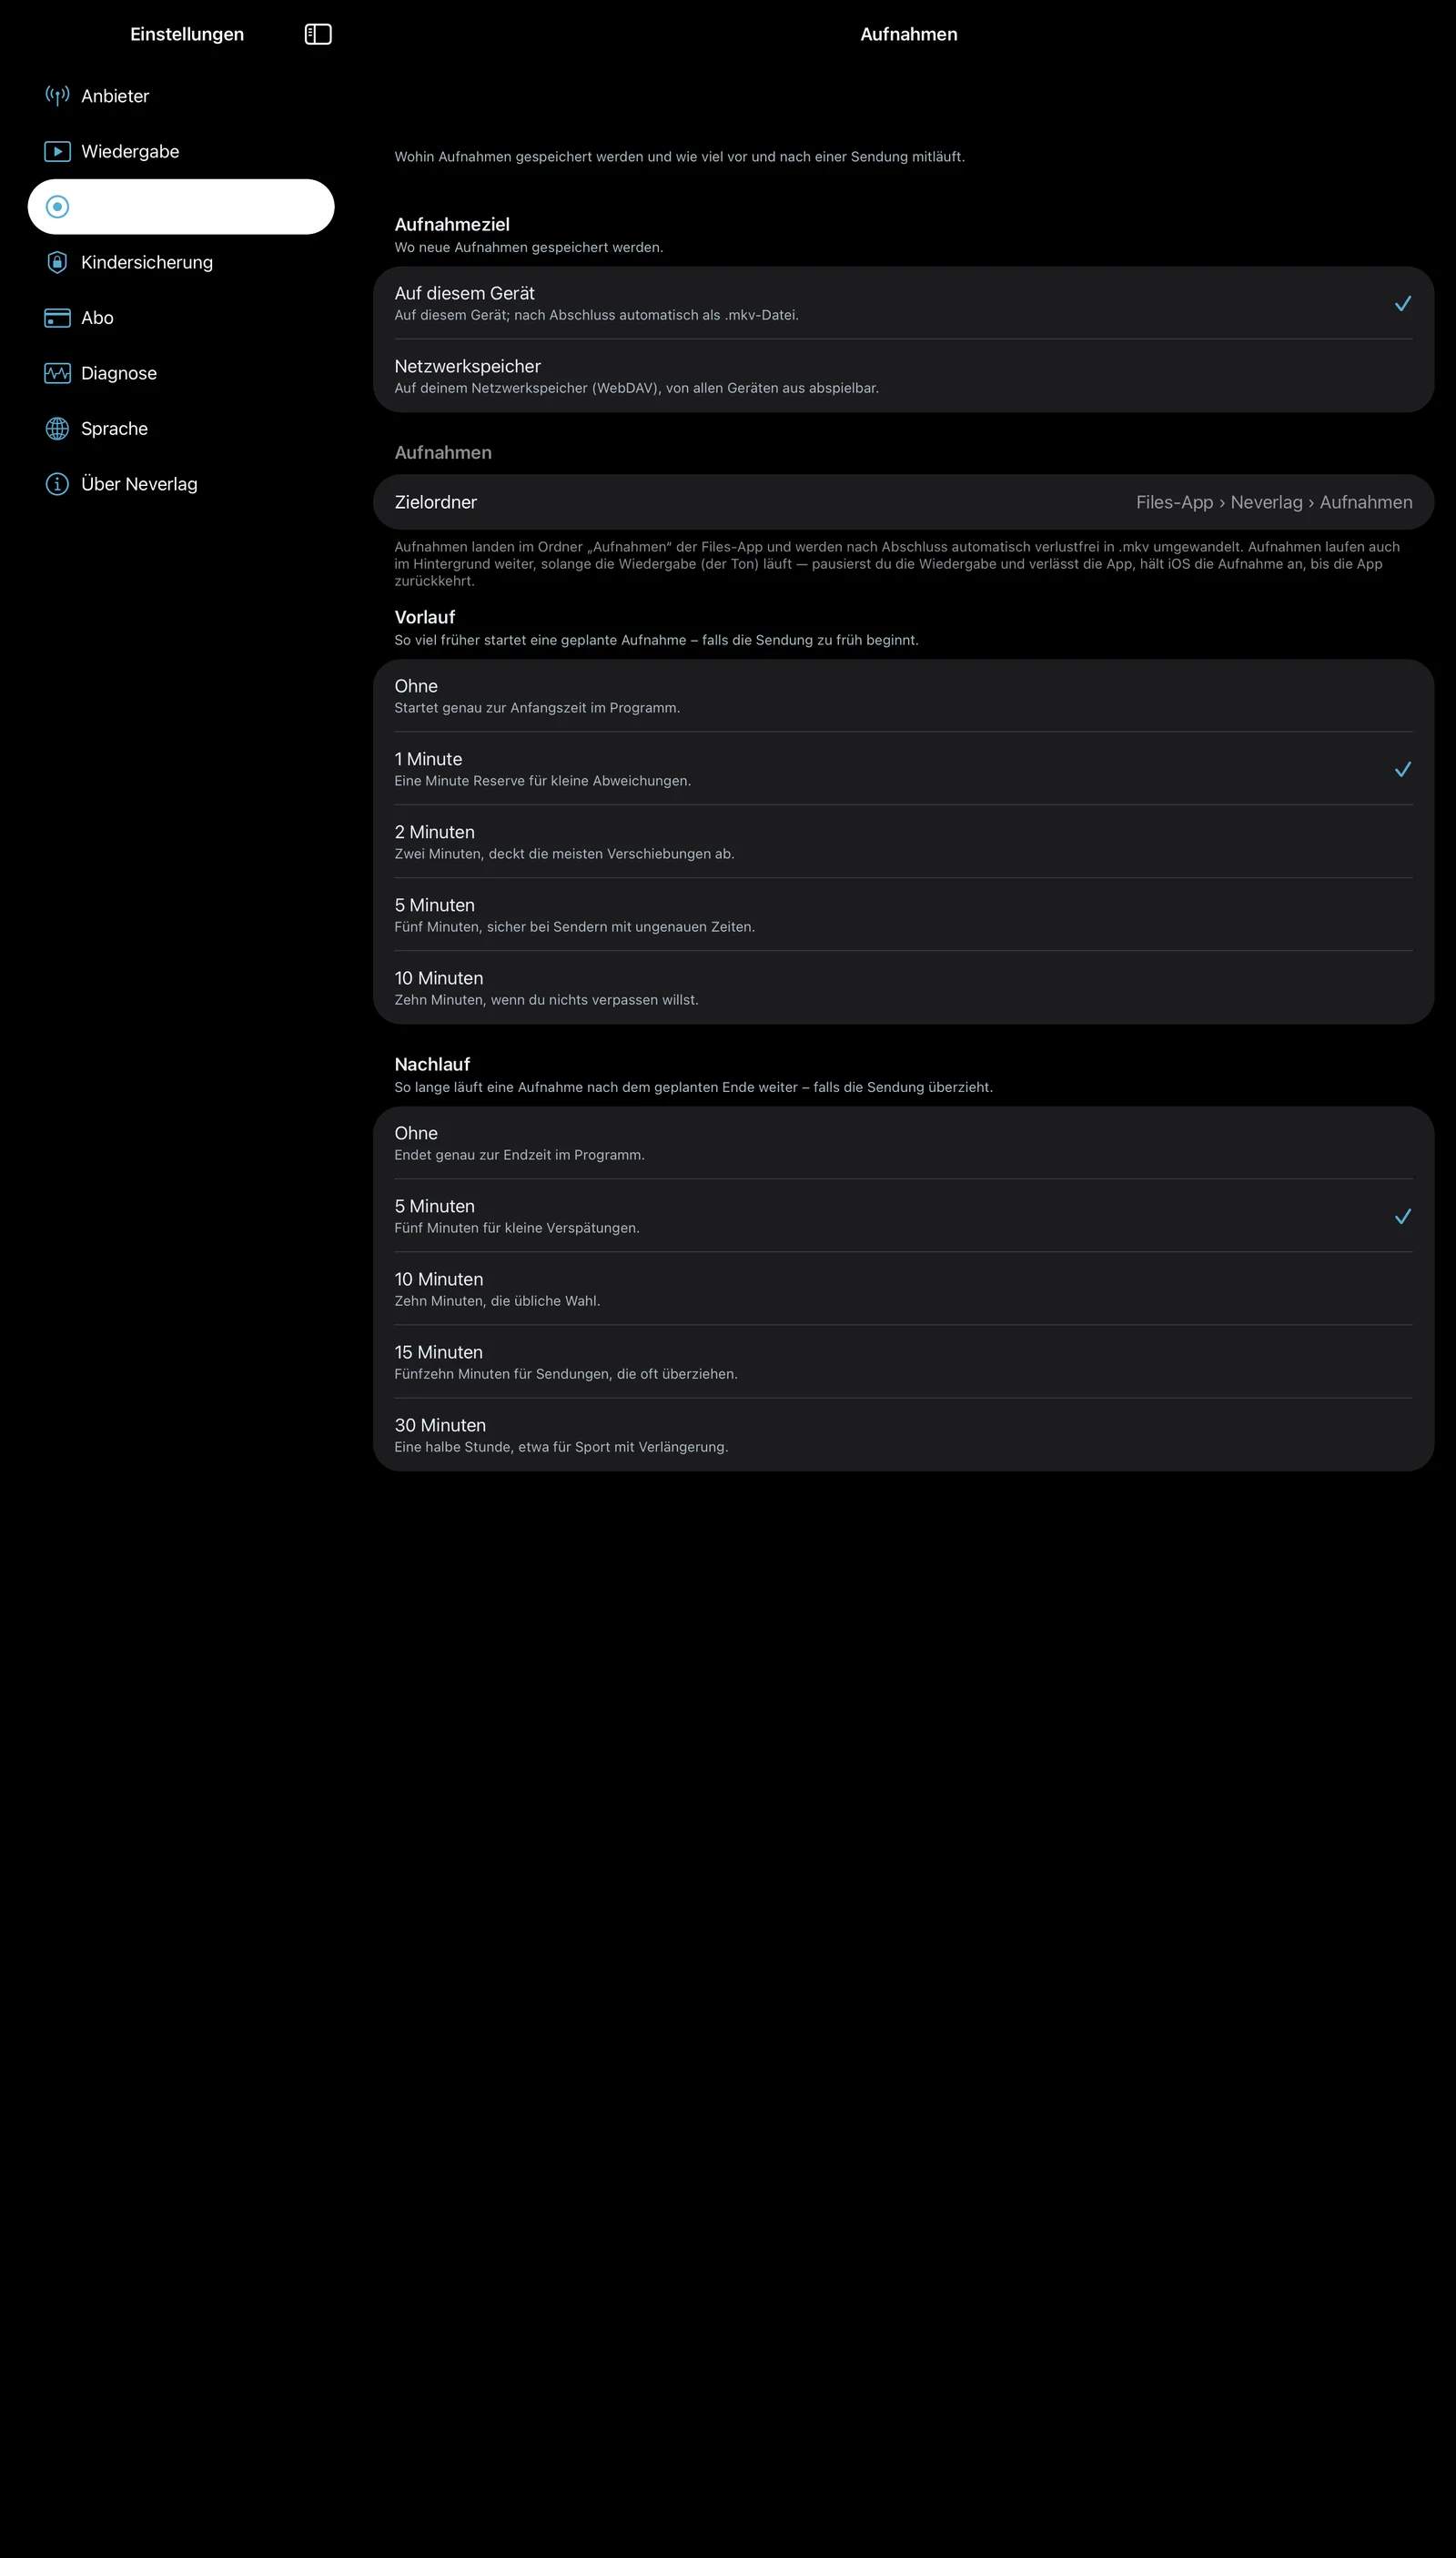
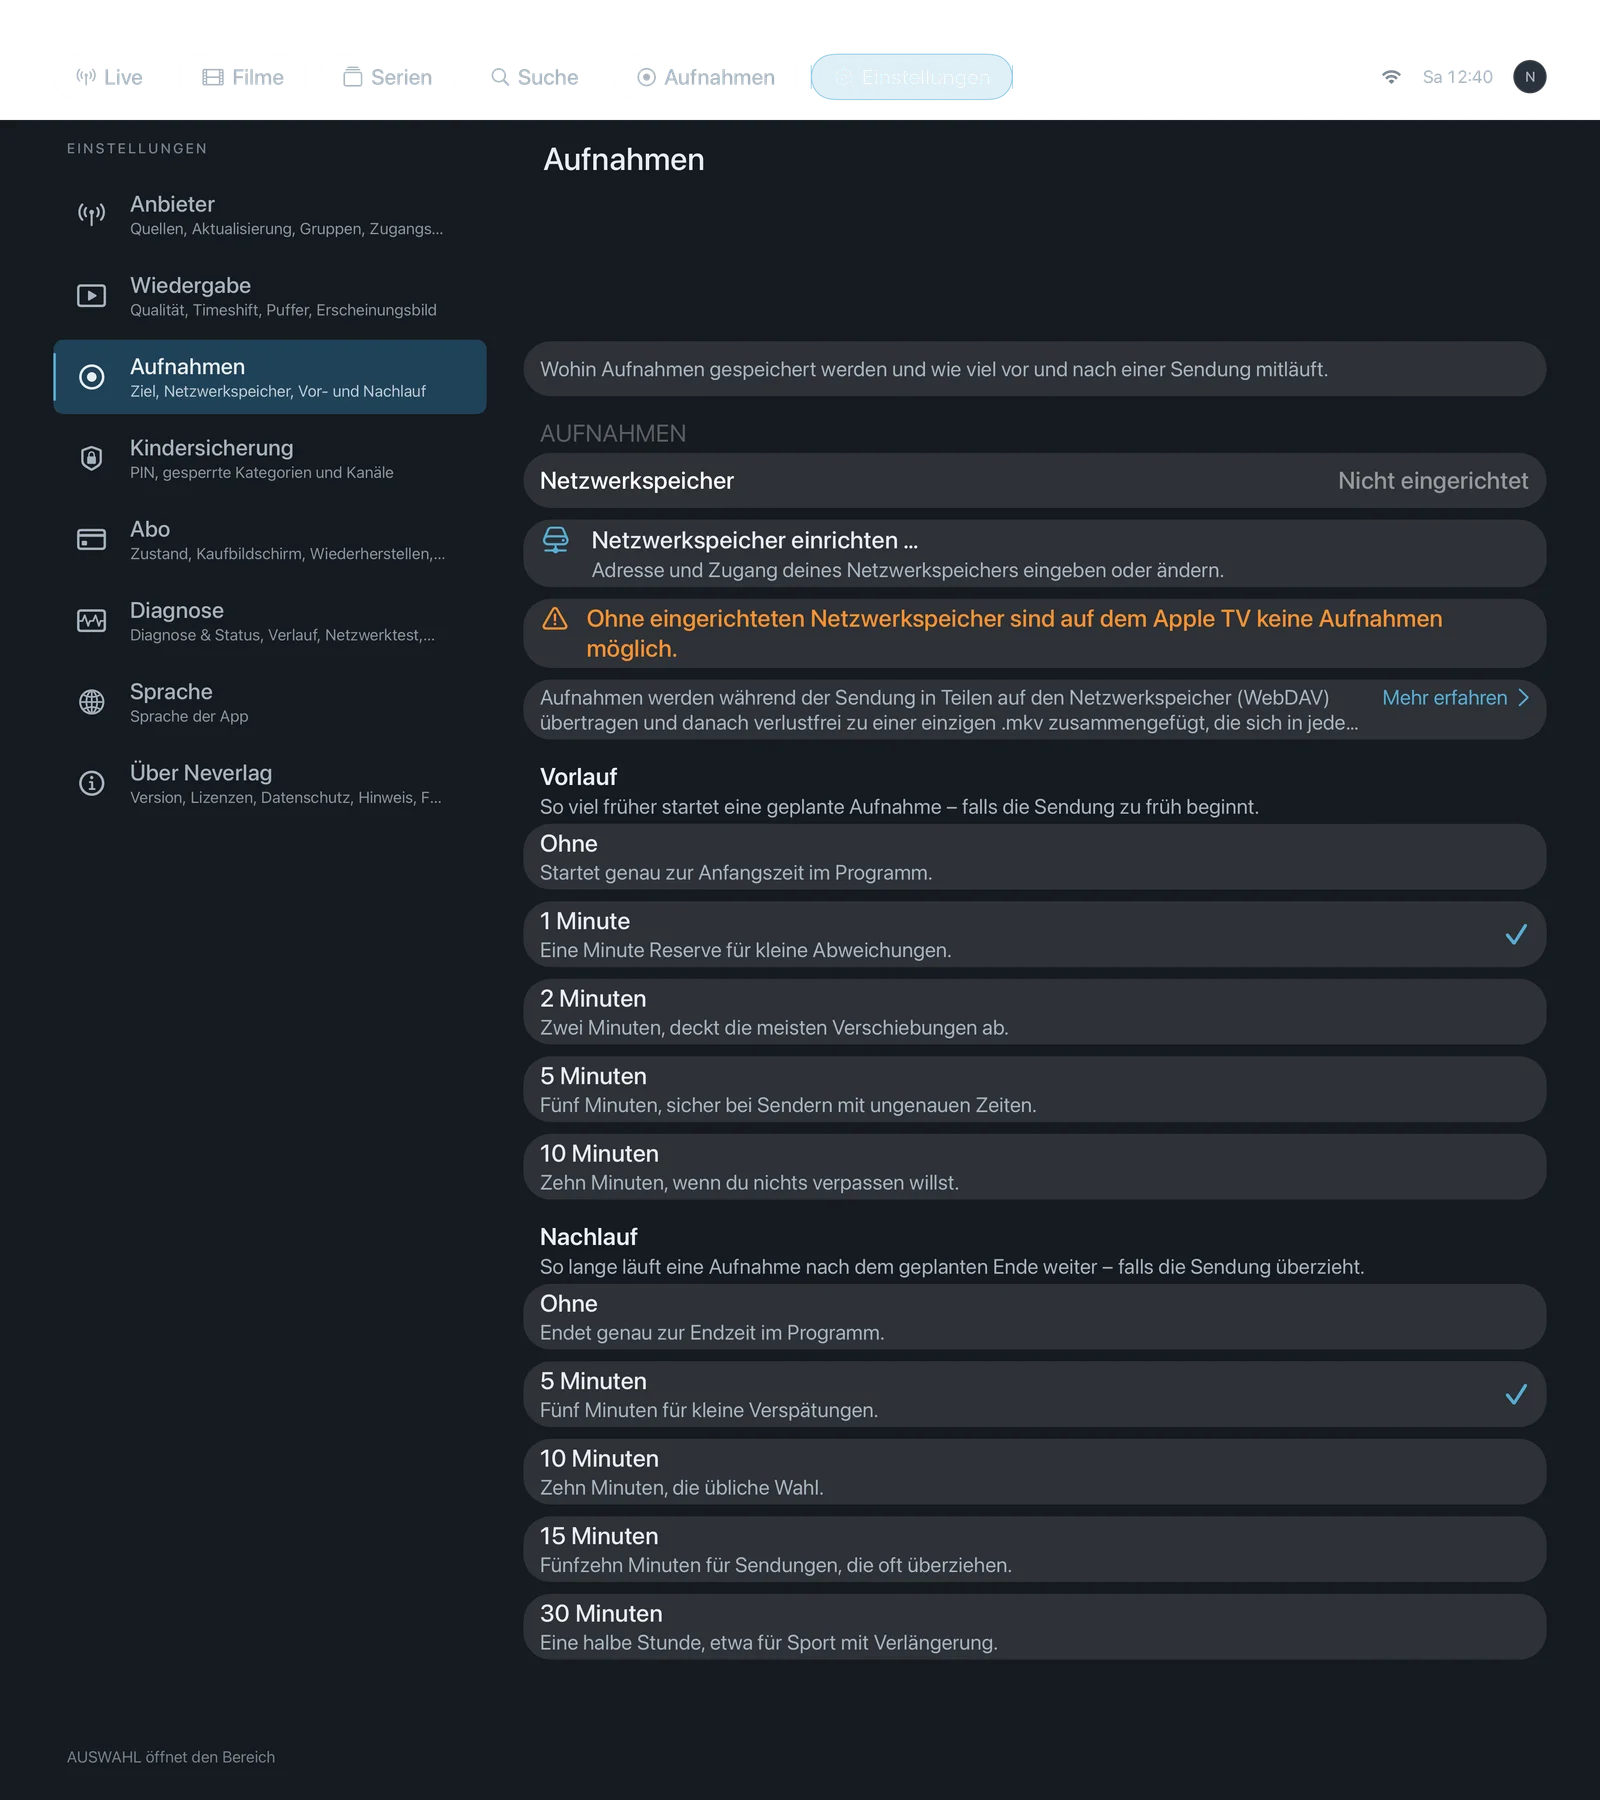
Sentence at the top of the area: “Where recordings are saved and how much is captured before and after a programme.”
How recordings are made, what MKV is and what the devices can do is explained under Recordings and Timeshift. This page is only about the settings.

| iPhone | iPad | Apple TV |
|---|---|---|
 |  |  |
Destination
Recording destination
- Where: Settings → Recordings · Mac, iPhone, iPad (Apple TV: always network storage, because it has no storage of its own for recordings)
- What it does: “Where new recordings are saved.” Recordings already running stay where they started.
- Default: Local (“Folder on the Mac” or “On this device”)
- Options:
- Folder on the Mac / On this device – “On this device; automatically turned into an .mkv file when finished.” Advantage: no network storage needed, fast. Drawback: playable on this device alone; on iPhone/iPad in the app’s folder (Files app › Neverlag).
- Network storage – “On your network storage (WebDAV), playable from all your devices.” Advantage: one recording, all devices; for the Apple TV this is the sole way to record. Drawback: needs a NAS in your home network with WebDAV; if it is unreachable, the recording ends incomplete.
- When to change: To network storage if you want to watch recordings on several devices or want the Apple TV to record.
- What it costs: Storage on the device or NAS (one hour of HD around 2–4 GB, 4K correspondingly more). Data volume: recordings fetch the stream just like playback; playback and recording of the same channel share one connection.
- Works together with: Choose folder, Set up network storage, Recordings and Timeshift
Choose folder …
- Where: Settings → Recordings · Mac only
- What it does: “Choose a different folder, including a connected network share.” Opens the macOS folder picker. If a chosen folder on a network share is unreachable, recordings go to the default folder for the time being, with the notice “Recording folder on the NAS unreachable – recordings are saved locally for now”.
- Default: – (button; the default is Neverlag’s default folder)
- Options: none
- When to change: If recordings should go to an external drive or a network share connected via the Finder.
- What it costs: Nothing; storage on the chosen drive.
- Works together with: Use default folder, Recording destination
Use default folder
- Where: Settings → Recordings · Mac only
- What it does: “Saves to Neverlag’s default folder again.”
- Default: – (button)
- Options: none
- When to change: If a chosen folder no longer exists or you want to go back to the default.
- What it costs: Nothing.
- Works together with: Choose folder
Network storage
Set up network storage …
- Where: Settings → Recordings · Mac, iPhone, iPad, Apple TV · called “Change network storage …” once one is set up
- What it does: “Enter or change the address and login of your network storage.” Neverlag finds the NAS via Bonjour, or you enter the WebDAV address. Before saving, the app does a write test (create a file, read it back, delete it) and shows the free space if the server reports it. Credentials are kept in the keychain.
- Default: – (button; no network storage set up)
- Options: none
- When to change: Before you choose “Network storage” as the recording destination; on the Apple TV it is required for recordings.
- What it costs: Nothing; storage on the NAS.
- Works together with: Recording destination, Send to Apple TV, Recordings and Timeshift → NAS
Send to Apple TV …
- Where: Settings → Recordings · Mac, iPhone, iPad · only with network storage set up
- What it does: “Sends the network storage setup to an Apple TV so it can record there.” Same route as for the provider: find the Apple TV in your home network, enter the code. The Apple TV does the write test itself before saving.
- Default: – (button)
- Options: none
- When to change: Once per Apple TV, instead of typing the NAS address with the remote.
- What it costs: Nothing.
- Works together with: Set up network storage, Providers → Send to Apple TV
Pre- and post-roll
Pre-roll
- Where: Settings → Recordings · Mac, iPhone, iPad, Apple TV
- What it does: “How much earlier a scheduled recording starts – in case the programme begins early.” Applies to recordings from the TV Guide, not to “Record now”.
- Default: 1 minute
- Options:
- None – “Starts exactly at the listed start time.” Advantage: no superfluous minutes. Drawback: if the programme starts early, the beginning is missing.
- 1 minute – “One minute of margin for small deviations.” Advantage: covers most deviations. Drawback: one minute of the preceding programme.
- 2 minutes – “Two minutes, covers most shifts.” Advantage: safer. Drawback: slightly more storage.
- 5 minutes – “Five minutes, safe for channels with imprecise times.” Advantage: copes with imprecise programme data too. Drawback: five minutes of adverts or the preceding programme.
- 10 minutes – “Ten minutes, if you don’t want to miss anything.” Advantage: maximum safety. Drawback: occupies the connection earlier; with providers that allow just one connection, playback ends correspondingly earlier.
- When to change: Higher if your recordings often miss the beginning.
- What it costs: Storage and data volume for the extra minutes; with single-connection providers, an earlier end to current playback.
- Works together with: Post-roll, Recordings and Timeshift → Connection limit
Post-roll
- Where: Settings → Recordings · Mac, iPhone, iPad, Apple TV
- What it does: “How long a recording keeps running after the scheduled end – in case the programme overruns.”
- Default: 5 minutes
- Options:
- None – “Ends exactly at the listed end time.” Advantage: no superfluous minutes. Drawback: if the programme overruns, the end is missing.
- 5 minutes – “Five minutes for small delays.” Advantage: enough for most programmes. Drawback: not for sport with extra time.
- 10 minutes – “Ten minutes, the usual choice.” Advantage: covers delays well. Drawback: more storage.
- 15 minutes – “Fifteen minutes for programmes that often overrun.” Advantage: safe for shows. Drawback: even more storage.
- 30 minutes – “Half an hour, for example sport with extra time.” Advantage: extra time and penalty shoot-outs included. Drawback: half an hour more storage per recording.
- When to change: Higher for sport and live shows.
- What it costs: Storage and data volume for the extra minutes; the connection stays occupied longer.
- Works together with: Pre-roll, Recordings and Timeshift